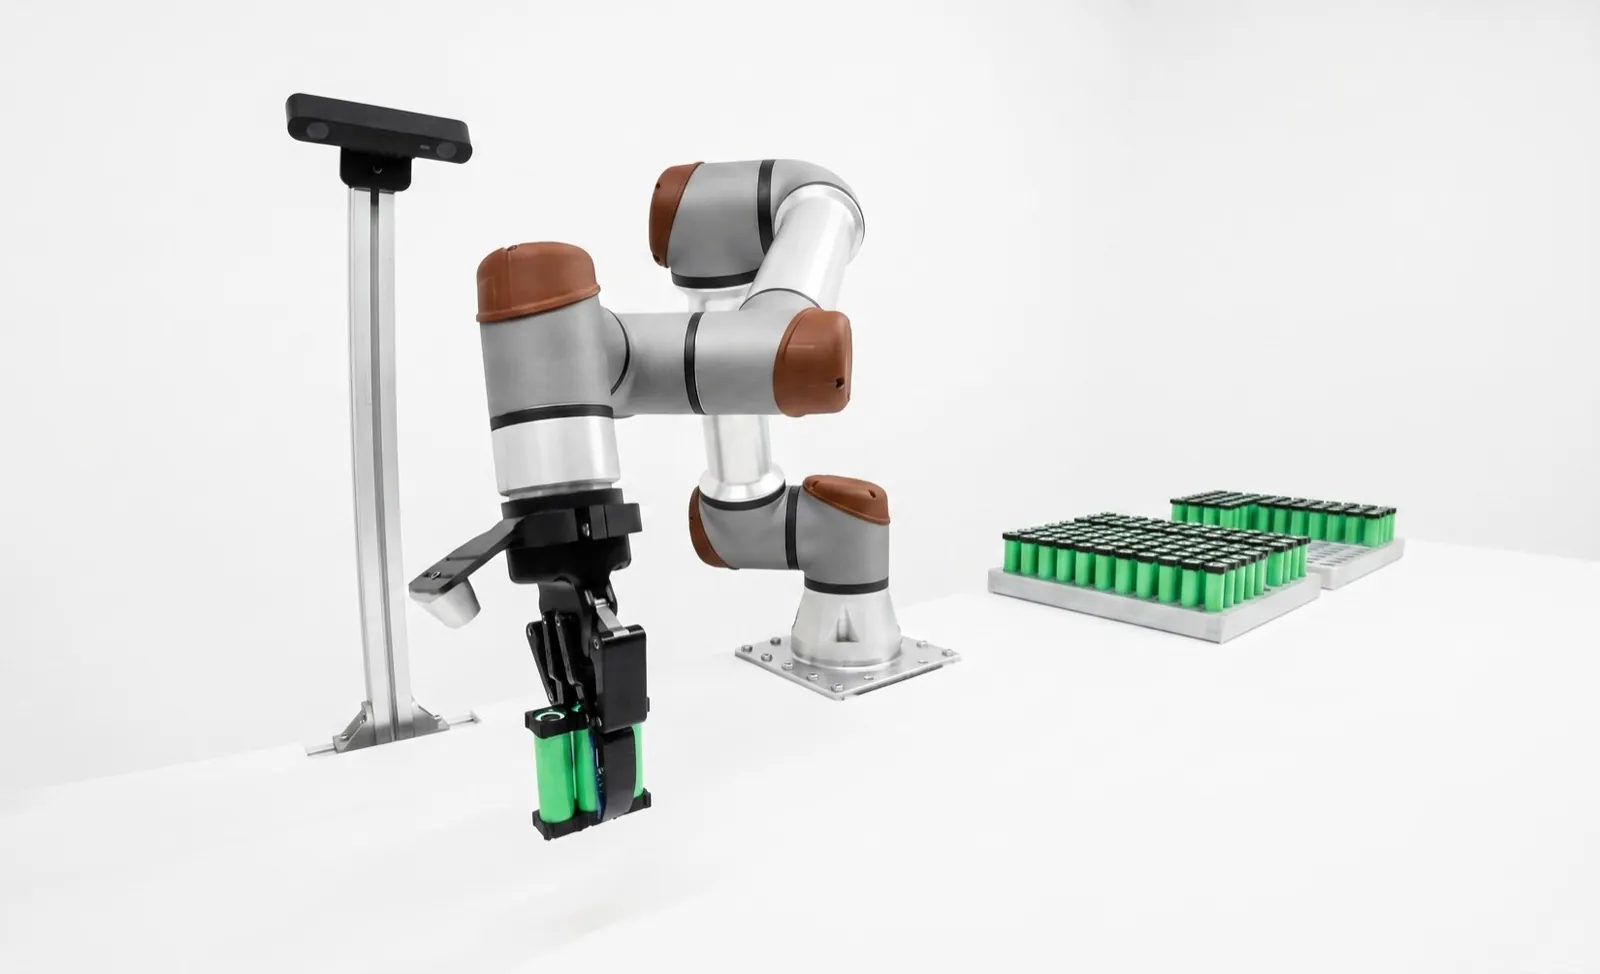
How to choose a machine vision lens without wasting the camera you paid for.
Match the mount to the camera, the image circle to the sensor, and the resolving power to the pixel size. Then pick the focal length that gives your field at a working distance you can live with. Telecentric optics, liquid lenses and filters solve specific problems, and we cover when each one's worth it.
On this page
To choose a machine vision lens, start with the camera's mount and sensor size, then find a lens whose image circle covers that sensor and whose resolution is rated for its pixel size. Pick the focal length from your field of view and working distance. Only then think about aperture, distortion, telecentric designs and filters.
The focal length arithmetic is the easy part, and our machine vision resolution calculator does it in a second. What it can't do is stop you from bolting a 2/3-inch lens onto a 1.1-inch sensor, or buying a $300 lens for a camera whose pixels need a better one. That's what this guide is for. We integrate cameras and lenses from a lot of makers and don't sell any of them.
Key takeaways
- The mount has to match the camera's flange distance, not just its thread. C and CS share a thread but sit 5 mm apart.
- A lens's image circle must cover the sensor diagonal. Stopping down won't fix dark corners.
- Buy lenses rated for your pixel size. Smaller pixels need sharper glass.
- Use a telecentric lens when parts change height and you're measuring, not just detecting.
- Lock focus and iris once you've set them. A loose ring is a slow-motion failure.
How do you choose a machine vision lens?
Work in order. Mount, then sensor coverage, then resolution against pixel size, then focal length for your field and working distance, then aperture for depth of field, then special optics if the job needs them. Each step rules out lenses, so by the end you're choosing between two or three.
Most people start with focal length, because that's the number on the barrel. It's also the step that matters least to image quality. Two 25 mm lenses can give the same field and wildly different images, because one was designed for 3.45 µm pixels on a 2/3-inch sensor and the other for a security camera. The first few steps below are where those two lenses part ways.
And remember the lens is one part of the optical system. If the defect doesn't have contrast, a better lens just shows you a sharper picture of nothing. The machine vision lighting guide covers that half, and our post on machine vision camera resolution covers how many pixels you need before you pick glass for them.
What is the difference between C-mount and CS-mount (and other lens mounts)?
C-mount and CS-mount share the same 1-inch, 32 threads-per-inch thread, but the lens sits at a different distance from the sensor. C-mount's flange distance is 17.526 mm, CS-mount's is 12.526 mm. A C-mount lens works on a CS camera with a 5 mm spacer; a CS lens won't focus on a C-mount camera.1
Flange distance, or flange focal distance, is the distance from the lens's mounting shoulder to the image plane. Get it wrong and the lens can't focus at its rated distances, no matter how you turn the ring. Most industrial area cameras up to about 1.1 inch use C-mount, which is why most of this guide assumes it. The others show up at the edges.
| Mount | Thread or type | Flange distance | Where you'll see it |
|---|---|---|---|
| C-mount | 1"-32 UN thread | 17.526 mm1 | Most area-scan industrial cameras and smart cameras |
| CS-mount | Same thread as C | 12.526 mm1 | Security and some compact cameras; takes C lenses with a 5 mm spacer |
| S-mount (M12) | M12 × 0.5 thread | No standard1 | Board cameras and embedded vision with small sensors |
| TFL | M35 × 0.75 thread | 17.526 mm1 | APS-C size sensors, about 28 mm diagonal; TFL-II (M48 × 0.75) for APS-H2 |
| F-mount | Nikon bayonet, 44 mm | 46.5 mm1 | Large sensors and line scan cameras |
Two notes from the field. M12 lenses are cheap and tiny, but with no standard flange distance you focus by screwing the lens in and out of its holder, and that's hard to lock reliably on a vibrating machine. And F-mount's bayonet was designed for photographers. Edmund Optics points out that it can contribute to camera-lens misalignment in industrial use,1 which is part of why the Japan Industrial Imaging Association standardized TFL as a threaded mount for big sensors.2
How do you calculate focal length for a machine vision lens?
Focal length is roughly the sensor width times the working distance, divided by the field of view width. A 2/3-inch sensor 8.45 mm wide, covering a 100 mm field from 300 mm away, needs about 8.45 × 300 ÷ 100 = 25 mm. Round down to the nearest stock lens so the field's a little wider, not narrower.
Edmund Optics gives the same relationship and a warning with it. These paraxial equations are approximations that deteriorate quickly above about 0.1× magnification, so online calculators are for reference.3 The thin-lens version is a bit more honest. It puts that 25 mm lens about 321 mm from the part for a 100 mm field, not 296 mm, and datasheet working distances are measured from the front of the lens, so the real number's different again. Our focal length calculator for machine vision works through both, and Fig. 02 shows the pattern across stock focal lengths.
Two practical choices hide in that math. A shorter lens gives a shorter working distance and a smaller station, but more distortion and more perspective change with part height. A longer lens moves the camera back, which is kinder to optics and gives you room for lights, but it needs a taller mount that has to stay rigid. On robot-mounted cameras the working distance usually wins the argument, because every extra 100 mm is 100 mm of reach you don't have and a longer lever on the wrist.
Will a lens cover my sensor? Image circle vs sensor format
Only if the lens's image circle is at least as large as the sensor's diagonal. A 2/3-inch sensor like the Sony IMX264 is about 8.45 × 7.07 mm, an 11 mm diagonal. A 1.1-inch IMX304 is about 14.13 × 10.35 mm, a 17.5 mm diagonal. A lens built for the first will leave dark, soft corners on the second.
Lens datasheets give this as a maximum sensor format, a maximum image circle, or both. Treat it as a hard limit. Edmund Optics notes that closing the aperture barely grows the image circle, and a lens designed for one sensor size won't perform well on a larger one even stopped down.4 The corners don't just go dark. They go soft first, which is worse, because a dark corner is obvious and a soft one quietly fails edge measurements near the edge of the frame.
The reverse is fine. A 1.1-inch lens on a 2/3-inch sensor covers it easily and often uses the sharpest middle of its image. It's just heavier and pricier than it needs to be. And watch the format names. "2/3-inch" is a holdover from vidicon tubes, not a dimension on the chip, so compare diagonals in millimeters.
What lens do I need for a 5MP camera?
One rated for its sensor format and its pixel size. Most 5 MP industrial cameras use a 2/3-inch sensor with 3.45 µm pixels or a 1/1.8-inch sensor with 2.74 µm pixels. The lens should cover that format and be rated for that pixel pitch, so you're looking for useful contrast near 145 or 182 line pairs per millimeter.
Those two numbers are the sensor's Nyquist limit, one line pair per two pixels, so 1000 ÷ (2 × 3.45) and 1000 ÷ (2 × 2.74). Lens makers increasingly say which pixel size a series is designed for. Fujifilm, for example, rates its Fujinon HF-XA-5M series of C-mount lenses for 2/3-inch, 5 MP sensors with 3.45 µm pixels, such as the IMX250.9 That's the kind of line you want on a datasheet. "Megapixel lens" with no pixel size is a marketing phrase.
The better test is the MTF curve, which plots contrast against detail. Find the sensor's Nyquist on the horizontal axis and read the contrast at the center and at the corner of the field. Edmund Optics works exactly this example for a 12 mm lens on a 3.45 µm, 2/3-inch sensor, and makes a fair point while doing it. A lens that doesn't reach full Nyquist contrast on a sensor can still be the right lens for it.5 If your defect spans three pixels, you care about contrast at a third of Nyquist, not at Nyquist itself. So read the curve at the detail size your inspection actually needs.
How much distortion is acceptable?
For detection, more than you'd think. Edmund Optics puts it at about 2 to 3 percent going unnoticed if you aren't running measurement tools.6 Distortion just moves information around in the image, it doesn't blur it, and it grows quickly toward the edge of a wide field. Short focal lengths and wide fields distort the most. For gauging, distortion matters, but it's correctable. You calibrate it out with a dot grid, then prove the result with a gage R&R, as our guide to dimensional gauging with machine vision describes. What you can't calibrate out is a lens that shifts after calibration, which is why the locking screws matter more than the distortion spec.
How do aperture and depth of field affect lens choice?
Closing the aperture (a higher f-number) gives more depth of field but less light and, past a point, more diffraction blur. For most inspection lenses the useful range is about f/4 to f/8. If that doesn't give you enough depth, lower the magnification, add light, or change the optics.
Diffraction sets the ceiling. The diffraction spot is about 2.44 × wavelength × f-number across, so with green light (0.55 µm) at f/8 that's about 10.7 µm, roughly three 3.45 µm pixels. Smaller pixels hit that ceiling sooner, which is one more reason a 2.74 µm sensor can look softer than a 3.45 µm one behind the same lens. And depth of field only means something when you say at what resolution and contrast, so a datasheet depth of field with no resolution attached doesn't tell you much.
The trap on the floor is aperture creep. Someone opens the iris on second shift because the image looks dim, depth of field halves, and parts at the edge of the tolerance start failing. Nobody's touched the program, so nobody looks at the lens. Pick the aperture deliberately, set the light to match, and lock the ring. Our resolution calculator estimates depth of field and the diffraction limit for your setup, and our post on why vision systems reject good parts covers what happens when nobody does.
When should you use a telecentric lens? (Telecentric vs fixed focal lens)
Use a telecentric lens when you're measuring parts whose features sit at different heights, or whose position toward the camera varies, and the tolerance is tight compared with that variation. A telecentric lens keeps magnification constant with distance. A standard fixed focal lens doesn't, so a feature that's closer looks bigger.
How much bigger? For a standard lens, apparent size changes by about one part in the working distance for each millimeter of height. At 200 mm that's 0.5 percent per millimeter. On a 20 mm feature, a 1 mm height change reads as 0.1 mm, which can be your whole tolerance. A telecentric lens removes that parallax because its magnification doesn't change with depth.7 Edmund Optics also corrects a common belief. Telecentric lenses don't inherently have more depth of field; what they do is blur symmetrically, so the center of an edge stays put as it goes out of focus.7
The cost is size. A telecentric lens's front element has to be at least as big as the field it sees. Edmund's 0.268× TitanTL, for example, sees about 47.8 × 35.8 mm on a 1-inch sensor, at a 110 mm working distance, with under 0.05 percent typical distortion. It's 161.6 mm long, 79 mm across, weighs 0.78 kg and lists at $2,490.8 A standard C-mount lens for the same camera is a few hundred dollars, as our machine vision system cost guide shows. Scale the field up to 200 mm and the telecentric option gets very large very fast, which is why big parts usually get a fixture that holds them flat instead.
Do you need a liquid lens or autofocus for machine vision?
Only when the working distance changes from part to part or recipe to recipe and you can't fix it mechanically. A liquid lens changes focus electrically in milliseconds with no moving parts, so one camera can read a code on a short box and a tall one. For fixed-distance inspection, a locked manual lens is simpler and more stable.
Smart cameras offer it as a factory option. Cognex lists its In-Sight 3900 with a choice of a standard C-mount, a Cognex manual-focus lens or a high-speed liquid lens autofocus.10 It's a good fit for code reading across mixed packages and for robot-mounted cameras that look at features at different depths, which comes up a lot in our vision-guided robotics cells and in OCR and code reading stations.
Be careful with it on measurement jobs. Refocusing changes magnification a little, so a gauge calibrated at one focus setting is off at another unless you calibrate each one. We'd rather fix the working distance with a fixture and keep the optics boring.
What filters does a machine vision lens need?
Most inspection lenses benefit from a bandpass filter matched to the light's color, which blocks ambient light and stray reflections. Add a polarizer pair for glare on shiny parts, keep the IR-cut filter on color cameras, and fit a clear protective window if anything can splash or fly toward the glass.
The bandpass filter is the one we'd specify by default. Run a red 625 nm ring light with a matching red bandpass filter and the overhead fluorescents, the sunlight through a dock door and the welding flash from the next cell mostly stop mattering. Filter makers such as Midwest Optical Systems sell these sized to common lens threads, and those threads vary even within one series. Fujifilm's HF-XA-5M lenses use M25.5 × 0.5 from 8 to 35 mm, but M37.5 × 0.5 on the 6 mm and M30.5 × 0.5 on the 50 mm.9 Check the thread before you order a box of filters.
A protective window is cheap insurance. Lenses near grinding, dispensing or washdown get cleaned with whatever's handy, and a scratched $40 window is a much better outcome than a scratched lens. The surface defect inspection page shows how polarizers and filters change what a shiny part looks like.
Machine vision lens selection checklist
Before you order a lens, confirm these ten things, in this order. If any answer is "not sure", that's the one to test on a stand with real parts before the purchase order goes out.
- The camera's mount and flange distance, and any spacer the combination needs.
- The sensor's diagonal in millimeters, against the lens's maximum image circle.
- The sensor's pixel size, against the pixel size the lens is rated for.
- The field of view including part position tolerance, from the camera resolution sizing.
- A working distance that fits the station, the lights and, on a robot, the reach.
- The stock focal length, rounded down, checked against the lens's minimum object distance.
- The aperture you'll run, and whether it gives enough depth of field before diffraction.
- Distortion at the field edge, and whether you'll calibrate it out.
- Whether parts change height enough to need telecentric optics or a liquid lens.
- Filter thread, bandpass filter, polarizer and protective window, plus locking screws for focus and iris.
If you're buying lenses as part of a complete station, ask the vendor to show you steps 2, 3 and 7 on paper. Those are the ones a quote can skip. Our pages on the best machine vision systems for inspection and on smart camera vs PC-based vision cover how the platform choice narrows the lens choice, since many smart cameras take a limited set of lenses. When the camera sits in a robot cell, we pick the lens with the cell layout, and our machine vision capability page shows how. Once it's running, write the lens settings into the station's validation record so the next change is deliberate. Our post on validating a vision inspection station explains why.
Frequently asked questions
Can I use a DSLR or photography lens for machine vision?
You can, usually through an F-mount or an adapter, and it's sometimes the cheapest way to cover a very large sensor. The catches are a focus ring and aperture you can't lock, autofocus mechanisms that don't like vibration, and a bayonet that can shift. For production stations we'd use an industrial lens with locking screws, and keep photo lenses for the lab.
Are zoom lenses used in machine vision?
Rarely on production lines. A zoom lens is handy for prototyping because one lens covers several fields, but it has more moving glass to drift, magnification changes if anyone touches it, and it's usually softer than a fixed focal lens at the same price. Find the field with a zoom on the bench, then buy the fixed focal length that matches.
How much does a machine vision lens cost?
A standard C-mount fixed focal lens for a 2/3-inch sensor typically costs a few hundred dollars. Lenses for larger formats or smaller pixels cost more, and telecentric lenses cost several times that; Edmund Optics lists a 0.268x TitanTL at $2,490. Prices vary by maker, format and volume, so these aren't quotes, just list-price reference points.
What is minimum object distance on a lens?
It's the closest distance at which the lens can focus, usually measured from the front of the lens. If your working distance is shorter than the lens's minimum object distance, the image won't come into focus. You can sometimes get closer with an extension tube, but that shifts the lens away from its design conditions and usually costs sharpness at the corners.
What does an extension tube or spacer do on a C-mount lens?
It moves the lens farther from the sensor, so it focuses closer and gives more magnification. That's useful when you need a small field from a standard lens. The price is image quality, because most lenses are optimized for longer distances, and depth of field shrinks. For regular close-up work, a lens designed for that magnification is the better buy.
Should I lock the focus and iris on a machine vision lens?
Yes, always, once the station is set up. Most industrial lenses have locking screws for both rings. Lenses get bumped during changeovers and wiped with whatever's handy, and a ring that turns a few degrees changes focus or brightness enough to move a threshold. Record the settings in the station documentation so a change is deliberate.
Sources
- Edmund Optics, Lens Mounts, Imaging Resource Guide section 5.1, accessed October 2026. Flange distances and threads for C, CS, F, TFL, TFL-II and S-mount (M12). Read the article.
- Japan Industrial Imaging Association, Lens Mount Standard has been revised, 2022. LE-004-2022 TFL Mount and TFL-II Mount Standard, technical specifications unchanged from LE-004-2017. Read the notice.
- Edmund Optics, Understanding Focal Length and Field of View, Imaging Resource Guide section 1.3, accessed October 2026. Focal length, field of view and working distance relationships, and their limits above about 0.1× magnification. Read the article.
- Edmund Optics, Relative Illumination, Roll-Off, and Vignetting, Imaging Resource Guide section 3.2, accessed October 2026. Increasing f-number does not much increase the image circle. Read the article.
- Edmund Optics, MTF Curves and Lens Performance, Imaging Resource Guide section 2.6, accessed October 2026. Reading MTF at a 3.45 µm sensor's 145 lp/mm Nyquist limit. Read the article.
- Edmund Optics, Distortion, Imaging Resource Guide section 3.3, accessed October 2026. About ±2 to 3% distortion goes unnoticed without measurement tools; telecentric lenses typically have little distortion. Read the article.
- Edmund Optics, The Advantages of Telecentricity, Imaging Resource Guide section 4.1, accessed October 2026. Magnification constant with depth; telecentric lenses do not inherently have more depth of field. Read the article.
- Edmund Optics, 0.268X, 1" C-Mount TitanTL Telecentric Lens, #34-010, accessed October 2026. 110 mm working distance, 47.8 × 35.8 mm field on 1", <0.05% typical distortion, 161.6 mm long, 79 mm diameter, 0.78 kg, $2,490.00. View the product.
- Fujifilm, HF-XA-5M Series, machine vision lenses, accessed October 2026. C-mount, designed for 2/3", 5 MP sensors with 3.45 µm pixel pitch such as the IMX250; filter threads M25.5 × 0.5 (8 to 35 mm), M37.5 × 0.5 (6 mm), M30.5 × 0.5 (50 mm). View the series.
- Cognex, In-Sight 3900 Vision System, specifications, accessed October 2026. Lens mount options: C-mount, Cognex high speed liquid lens autofocus, or Cognex manual focus lens. View the product.
Mount dimensions, lens specifications, prices and product options are from the maker and standards pages cited, checked in October 2026; prices change. Sensor dimensions and the Nyquist, diffraction, focal length and parallax figures are arithmetic shown in the text. The selection order, the f/4 to f/8 working range, the preference for fixtures over liquid lenses on gauging jobs and the floor examples are our applications practice, offered as such, not vendor data.
Read next
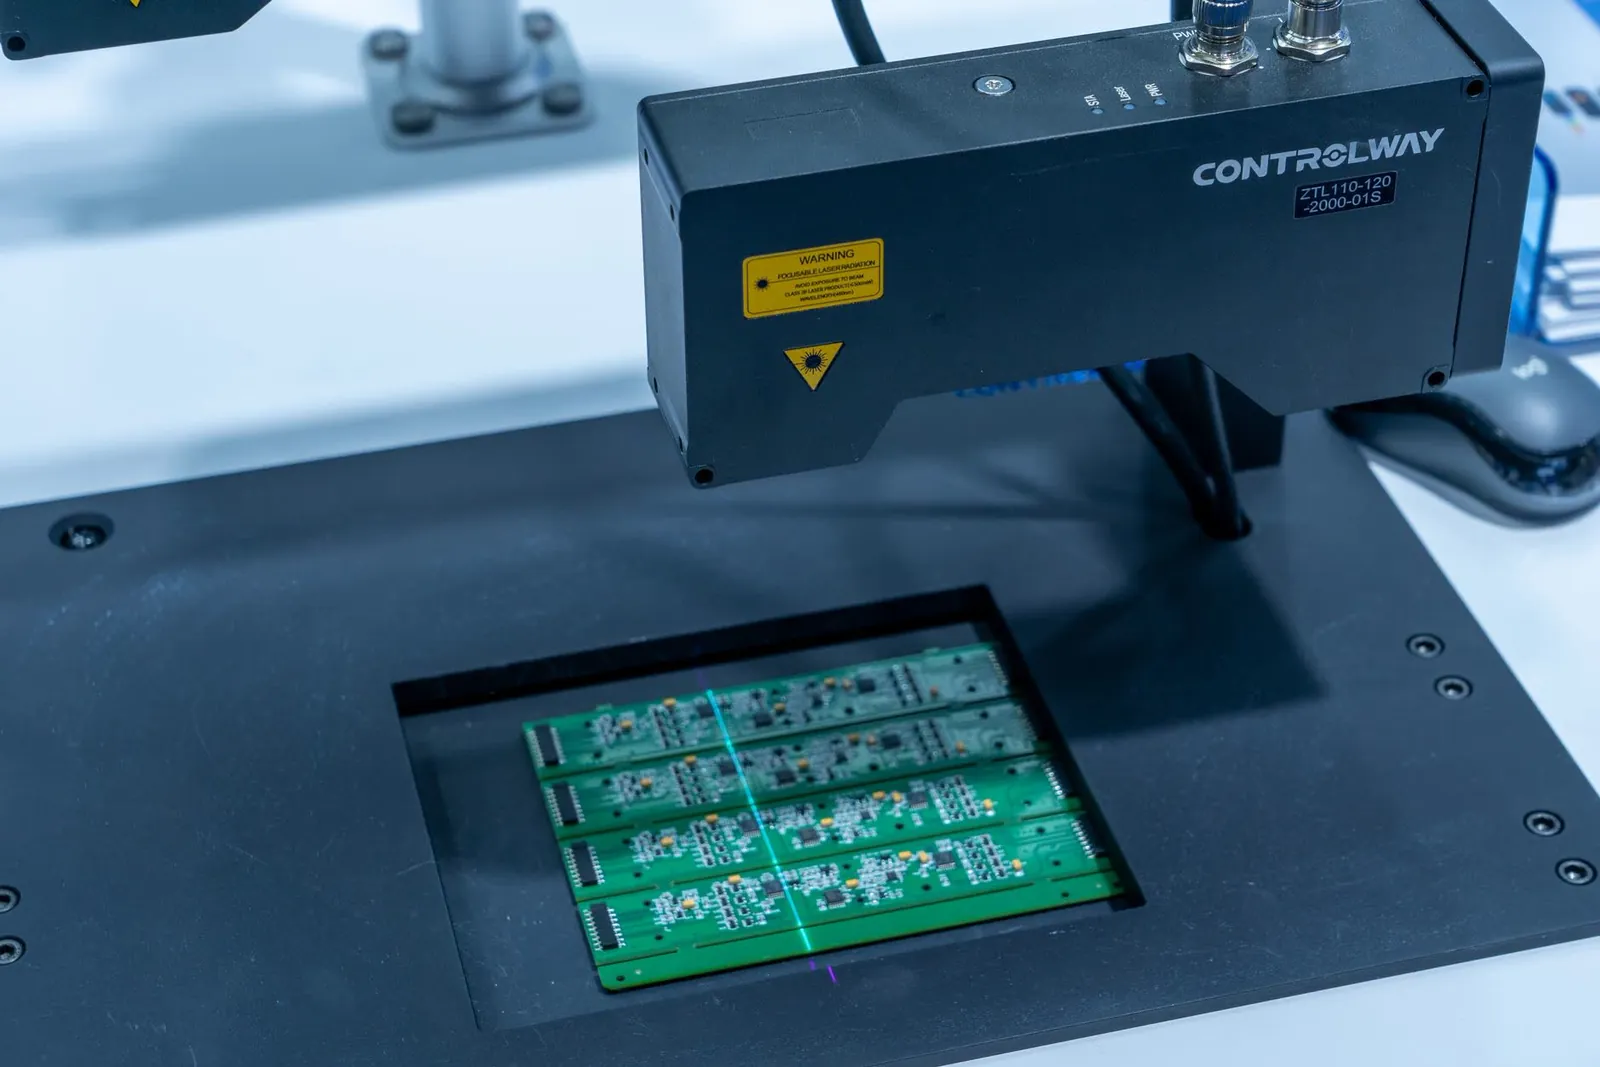 Machine vision
 camera resolution: how many megapixels?
Pixels per defect, why more megapixels can hurt, and three worked inspections.
24 October 2026↗ Calculator
Machine vision resolution and lens calculator
Focal length, magnification, depth of field and exposure from your field and sensor.
Vision library↗ Guide
Dimensional gauging with machine vision
Telecentric optics, subpixel edges, calibration, guard bands and gage R&R.
Vision library↗Pick the lens with the cell, not after it.Bring Relling to your shop floor.
We started Relling to help American manufacturers make more of what this country needs. Tell us about the part and we'll scope a cell to it.