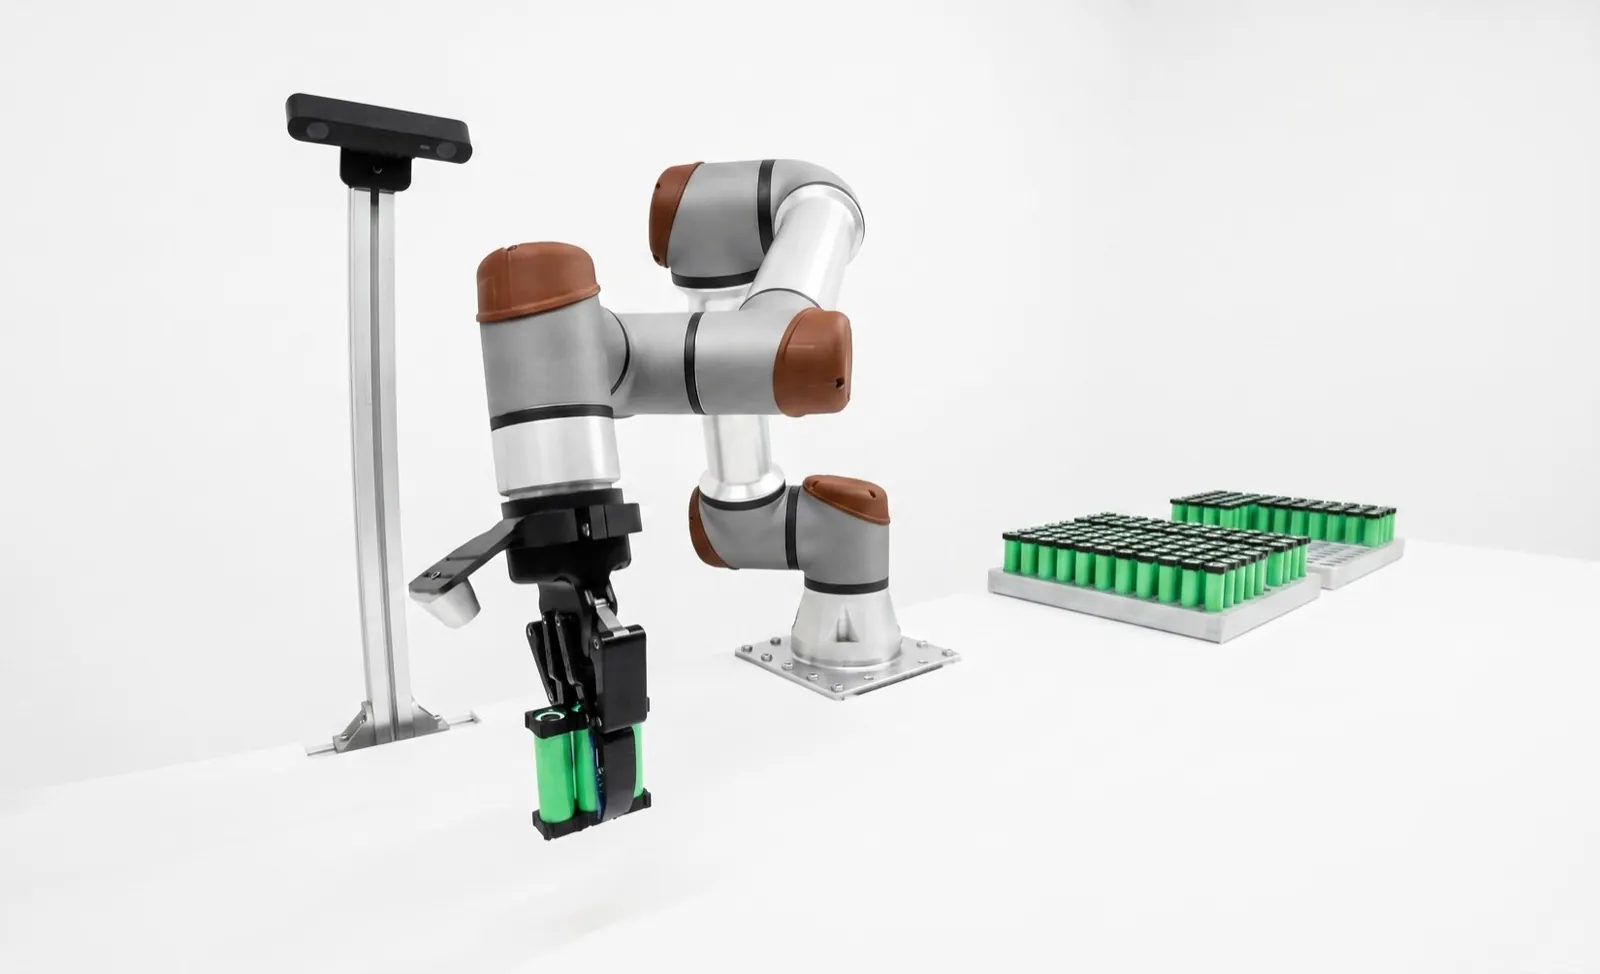
How to start a machine vision project, from the first pick to a station your team owns.
Pick one inspection that hurts, is easy to define and runs on stable parts. Write down what it has to decide on a single page, collect real good and bad parts, and make vendors prove it on those parts before anyone writes a purchase order. That order of steps decides most first projects.
On this page
To start a machine vision project, pick one inspection that costs you real money, has a defect two inspectors would agree on, and runs on parts that don't change much. Write a one-page requirements spec, gather labeled good, bad and borderline parts, and have vendors run a feasibility study on them. Then budget, buy, accept against numbers you set up front, and plan the handover before the install.
That's the short version. The rest of this guide is the long one, written for a plant or controls engineer doing this for the first time, maybe at a smaller shop without a vision specialist on staff. It sits alongside our machine vision library, which covers individual applications in depth, and our post on machine vision system cost, which covers the money.
Key takeaways
- Your first project should be boring on purpose. High pain, a clear defect and stable parts beat the hardest problem on the floor.
- A one-page vision system requirements specification, sent with the same sample parts to every vendor, is what makes quotes comparable.
- Limit samples (parts right at the edge of good and bad) matter more than a big pile of obvious rejects.
- Write the acceptance test before the purchase order, with separate targets for escapes and false rejects.
- A typical integrated single-view station takes four to six months from first pick to handover. Feasibility is the step people skip and regret.
Which application should be your first machine vision project?
Choose the inspection with the highest cost of failure that's also easy to define and runs on consistent parts. A missing clip, a wrong label or an unread date code usually fits. A cosmetic scratch on a cast surface usually doesn't, at least not as a first project, because nobody agrees on what a reject looks like yet.
We see the same mistake a lot. The team picks the problem that's been bugging the plant manager for years, which is almost always the hardest one, because the easy ones got solved with a fixture or a sensor long ago. Then the project drags, the station gets a reputation, and the next vision idea gets shot down in the budget meeting. You don't want your first station to be the one people tell stories about.
So score your candidates on three things. Pain is the cost of escapes, scrap, rework and inspection labor, in dollars a year if you can get them. Definability is whether you can write the defect down and whether two of your inspectors would sort the same 50 parts the same way. Stability is whether the parts, the presentation and the lighting around the station stay put from shift to shift. Fig. 01 shows how that sorts a typical list.
One more filter. If a $50 proximity sensor or a poka-yoke nest would catch it, use that. Vision earns its place when the check needs to look at something, such as a feature's position, a printed character or a surface, rather than just sense that a part is there. Our guide to assembly verification with machine vision covers where that line usually falls. And keep expectations straight from day one. An inspection station sorts parts and shows you trends; it won't fix the process that makes the defect, a point planning guides were making back in 2010.3
What goes in a vision system requirements specification?
A good vision system requirements specification says what the station must decide, on which parts, how fast, under what conditions and how you'll prove it works. It shouldn't name the camera. One page is enough for a first project, as long as every line has a number or a sample behind it.
The German engineering associations VDI, VDE and VDMA publish a whole guideline on this, VDI/VDE/VDMA 2632 Part 2, updated in November 2024.1 It splits the document in two. The buyer writes the requirement specification (what you need), and the supplier answers with a system specification (how they'll do it). That split is worth copying even on a small job, because it stops a vendor's hardware choice from quietly rewriting your requirements. The guideline also puts a lot of weight on influencing factors, like part variation, ambient light and vibration, which is exactly where first projects get surprised.
Here's the template we'd use. Copy it into a document, fill every row, and attach photos.
| Section | What to write | Example |
|---|---|---|
| 1. Decision | The one question the station answers, and what happens to a reject | Is the retaining clip seated? Reject to a locked bin. |
| 2. Parts and variants | Part numbers, materials, colors, finishes, suppliers, expected new variants | 3 part numbers, black and natural PA66, 2 suppliers |
| 3. Defects and limit samples | Each defect class with a photo, the smallest size that must be caught, and physical limit samples signed by quality | Missing clip; clip tilted > 15°; 4 signed limit samples |
| 4. Presentation | How the part arrives: fixture, conveyor, robot; position and rotation tolerance | Nest on an indexing table, ±2 mm, fixed orientation |
| 5. Cycle time | Parts per minute, time available for capture and decision, trigger source | 30 per minute; 400 ms window; PLC trigger at index |
| 6. Field of view and resolution | Area to inspect, smallest feature, working distance and mounting envelope | 120 × 75 mm; smallest feature 0.5 mm; 250 to 400 mm |
| 7. Environment | Ambient light, temperature, dust, oil mist, washdown, vibration, nearby welders | Skylights overhead; 10 to 35 °C; coolant mist |
| 8. Interfaces and I/O | PLC or robot model and protocol, signals, reject mechanism, safety interlocks | Allen-Bradley, EtherNet/IP; pass, fail, ready, recipe |
| 9. Data and traceability | What to store per part, for how long, and where; serial or lot link | Result and image of every fail, 90 days, linked to lot |
| 10. Operators and changes | Who clears faults, who adds part numbers, languages, access levels | Operators view only; two techs edit recipes |
| 11. Acceptance criteria | Test set, escape target, false-reject target, run length, who signs | 0 escapes on 60 bad; < 0.5% false rejects over 2 shifts |
| 12. Constraints | Budget range, install window, utilities, preferred brands, spares, support terms | Install during the July shutdown; 120 V only |
Two rows deserve extra care. Row 6 is arithmetic, not taste. If the smallest feature is 0.5 mm and the field of view is 120 mm wide, you want several pixels across that feature. Optics makers treat two pixels per line pair as the theoretical limit,4 and in practice we plan for three or more pixels across the smallest thing you care about. Three pixels on 0.5 mm is 0.167 mm per pixel, and 120 mm divided by 0.167 mm is 720 pixels across. A common 1920 × 1200 sensor gives you 0.0625 mm per pixel, so there's margin. Our machine vision resolution calculator does this for any lens and sensor.
How many sample parts do you need for a vision feasibility study?
Send enough parts to show every variant and every defect class, plus limit samples right at the edge of acceptable. For a first project we'd aim for a few dozen good parts across lots and suppliers, ten or more of each defect class, and a handful of signed borderline parts. More is better, but variety beats volume.
Bad parts are the hard ones to find. They usually go straight to scrap, so start a quarantine bin the day you pick the application, and label each part with the defect and where it came from. If a defect is rare, ask quality whether you can make a few on purpose. A clip left out, a label applied crooked. Made defects are fine for feasibility as long as you say they're made.
Limit samples are the parts that matter most and the ones teams forget. They're the clip that's tilted 14 degrees (good) and the one at 16 degrees (bad), physically labeled and signed by your quality lead. A camera can separate a perfect part from a mangled one with almost any setup. What you're really paying for is a station that puts the line in the same place your quality team does, every time. Fig. 03 shows why.
What happens in a machine vision feasibility study?
A feasibility study is the vendor or integrator testing your sample parts in their lab to show the inspection works, and with what hardware. You should get back images, the lighting and optics they chose, results on every sample, and a list of risks. Treat it as a paid test, not a sales demo.
A useful study answers specific questions. Are all the defect classes found? What lighting, lens and resolution does it take? Which architecture fits, a smart camera or a PC with separate cameras? What cycle time is realistic? How repeatable is the result when the same part runs ten times? Good labs try to break it, too. Vision Doctor's guide to lab and field tests lists deliberate interference tests, like vibrating the camera stand, changing brightness, adding stray light and putting oily or oxidized parts in front of the camera.6 We'd add one more. Run the parts from the second supplier, the one nobody mentioned.
Get studies from two or three vendors if you can, and give them identical parts and the identical spec. Then compare the reports side by side. Did they all find the same defects? Did one need a dome light while another got away with a ring light? Those differences tell you more about the application than any brochure. If the Cognex and Keyence teams both come back, our Cognex vs Keyence comparison helps you read the two proposals, and smart camera vs PC-based vision covers the architecture question.
Lighting is where feasibility studies earn their fee. Most failed first stations we're asked to look at had a fine camera and the wrong light, and the machine vision lighting guide helps you sanity-check a vendor's choice.
Should your first project use deep learning?
Only if the defect really needs it. Rule-based tools are faster to validate and easier for your techs to understand, and a missing clip or a misread code rarely needs anything else. Deep learning earns its keep on variable cosmetic defects, but it brings image collection, labeling and retraining with it. Our deep learning vs rule-based vision guide lays out where each one wins.
How much should you budget for your first vision project?
For a typical single-view inspection station with a smart camera, proper lighting, mounting and integration, plan on roughly $15,000 to $60,000 installed. A simple vision sensor job can come in under $10,000. Multi-camera, 3D or regulated stations run well past that. Engineering, not the camera, is usually most of the bill.
Those ranges are our planning numbers, and the reasoning is in our post on how much a machine vision system costs. First projects usually forget the feasibility study itself (free from some vendors, paid if you want a written report), a spare light and cable, and year-two changes, because the first new part number arrives sooner than you'd think.
Then check the return before you commit. Our post on calculating machine vision ROI walks through a full payback example. If it can't pay back on paper, it won't on the floor, and your pain score in Fig. 01 was too generous.
How long does it take to implement machine vision?
A simple smart-camera check on a stable part can go from idea to running in four to eight weeks. A typical integrated single-view station takes about four to six months from first pick to handover. Hardware lead times, fixture design and the acceptance runs set the pace more than the vision programming does.
Two things stretch a first schedule most. Waiting for bad parts, which is why the quarantine bin starts on day one. And the install window, because a station that's ready in week 17 still waits for the next shutdown. Then plan a shadow run, where the station inspects live production while people still do the real sorting, so you can compare the two before anyone trusts the camera.
How do you run acceptance testing on a new vision system?
Run a blind test set of labeled good, bad and limit parts through the station, then score escapes and false rejects separately against targets you wrote into the spec. Do it once at the builder's shop (the FAT) and again on your line at speed (the SAT). Agree on all of this before the purchase order.
Write the acceptance test early. David Dechow, writing in Control Design, makes the same point. The acceptance test procedure should exist by the start of implementation, or before, so discrepancies show up while they're cheap to fix.2 We'd go further and attach a draft to the request for quote. Vendors price differently when they know how they'll be judged, which is the point.
Keep good and bad parts roughly balanced in the blind set. Minitab's guidance for attribute agreement studies recommends an equal number of good and bad items so the agreement you get by chance stays about the same.5 Run each part several times in random order, loaded by someone other than the programmer. And never let a missed defect average out against a pile of correct passes. Escapes and false rejects cost very different amounts, so they get separate targets. For regulated plants, our post on vision system validation with IQ, OQ, PQ and gage R&R turns this into a full protocol.
The SAT matters because your line isn't their lab. A false-reject rate that looked fine for an hour at FAT can creep up once real vibration, skylights and operators show up, so we'd run the SAT across at least two shifts and include a changeover.
What should handover and training include?
Handover should leave your team able to run, recover and change the station without calling the vendor. That means backed-up job files and settings, a short operator guide with photos, golden good and bad samples kept at the station, a maintenance routine, and at least two trained people who can edit a recipe.
The usual story is that one person sat in on the vendor's training, then got promoted or moved to second shift, and now nobody wants to touch the vision job. So train two people, and have them add a real part number during training while the vendor watches. Get every file you'd need to rebuild the station from a spare camera, including calibration and network settings, and agree on the hourly rate for year-two changes before the project closes.
The station starts drifting the day it's installed. Lights age, lenses get wiped with whatever's handy, someone bumps a bracket. Our machine vision maintenance checklist covers the routine that keeps it honest, and why your vision system rejects good parts covers what to do when it isn't.
Should a small manufacturer use an integrator for machine vision?
If you have a controls engineer with time and the job is a simple single-camera check, you can often do it in-house with a smart camera and vendor support. For anything with several views, robot handling, tight cycle times or a new reject mechanism, an integrator usually costs less than learning it on your own line.
Machine vision for small manufacturers is mostly a staffing question. Camera setup tools have gotten much easier, and a capable controls tech can get a presence check running in a few days. What's hard to pick up on the job is lighting, fixturing and the discipline of a test set.
| Route | Fits when | Watch out for |
|---|---|---|
| In-house with a smart camera | One view, stable part, simple pass or fail, an engineer with a few weeks to spare | Lighting and fixturing done by trial and error; one person who knows the job |
| Camera vendor's application team | Standard application, you'll do the mechanical and PLC work yourself | Support tied to one brand; scope often ends at the camera |
| Vision integrator | Several views, new handling or reject hardware, tight cycle, formal acceptance | Higher upfront cost; insist on getting every source file at handover |
| Cell builder with vision inside | The inspection is part of a new robot cell or automation project | Make sure the vision has its own acceptance criteria, not just the cell's |
If you're going the integrator route, our guide to machine vision integrators compares the types and lists the questions to ask. We build vision into robotic cells ourselves, which is described on our machine vision capability page, and we'll happily look at your spec even if the answer is a $1,000 sensor. If you'd like a second opinion on your first pick, send us the spec and a few photos.
Frequently asked questions
What is the difference between a requirement specification and a system specification?
The requirement specification is written by the buyer and says what the vision system must do, on which parts and under what conditions. The system specification is the supplier's answer, describing the hardware, software and methods they'll use to meet it. Keeping them separate, as VDI/VDE/VDMA 2632 Part 2 recommends, stops a vendor's design from quietly rewriting your needs.
Can I set up a smart camera myself without an integrator?
Yes, for simple checks on stable parts, such as presence, orientation or reading a printed code. Modern smart cameras from Cognex, Keyence and others have guided setup tools, and most vendors offer application support. Plan extra time for lighting and mounting, and still build a labeled test set of good, bad and borderline parts before you trust the result.
Who should own the vision project inside the plant?
One named owner, usually from manufacturing engineering or controls, with quality signing off on the defect definitions and limit samples. Quality owns what counts as a reject; engineering owns how the station decides. Projects with no single owner tend to stall between departments, especially at acceptance, when someone has to say the numbers are good enough.
What if the feasibility study says the inspection won't work?
That's a good outcome, because you found out for the price of a study instead of a station. Ask what would make it work: different presentation, a second view, a tighter defect definition or a fix upstream in the process. Sometimes the right answer is a mechanical error-proofing fixture, and sometimes it's a different first project.
Do I need to keep the sample parts after the project?
Yes. Keep a set of signed good, bad and limit samples at the station as golden samples for daily checks, and a second set locked away for revalidation after changes. They're the only objective reference you'll have when someone asks, a year later, whether the station still sees what it saw at acceptance.
Should vision be added to an existing line or built into new equipment?
Building it into new equipment is usually cheaper and more reliable, because mounting, guarding, lighting shrouds and part presentation get designed together. Retrofits are common and work fine, but they often fight for space, ambient light and a stable part position. If a line upgrade is already planned, put the vision requirements into that project's spec.
Sources
- VDI, VDE and VDMA, VDI/VDE/VDMA 2632 Part 2: Machine vision, preparation of a requirement specification and a system specification, November 2024. Guideline for buyer and supplier specifications, with emphasis on influencing factors. View the guideline.
- David L. Dechow, A practical quick start guide for reliable machine vision applications, Control Design, May 2026. Four-phase process; acceptance test procedure written by the start of implementation. Read the article.
- Dindima Group, How to plan your first vision system, Process Online, 2010. Objectives, experiments with representative images, and deployment planning. Read the article.
- Edmund Optics, Resolution, Imaging Resource Guide, accessed October 2026. Two pixels per line pair as the sensor's resolving limit; object-space resolution. Read the application note.
- Minitab, Attribute Agreement Analysis, Minitab Assistant white paper, 2017. Recommends an equal number of good and bad items across evaluations. Read the white paper (PDF).
- Vision-Doctor.com, Laboratory and field tests, accessed October 2026. Feasibility questions, deliberate interference tests and field tests on production quantities. Read the page.
Process steps, sample-set sizes, budget ranges and the timeline are our typical practice from scoping and commissioning vision stations and vision-equipped robot cells, and are labeled illustrative where they appear in figures; they are not survey data or quotes. The spec template's example values are invented for illustration. Sourced statements are numbered. Budget ranges are explained in our machine vision cost post.
Read next
 Machine vision
How much does a machine vision system cost in 2026?
Prices by tier, the full station cost stack and how to get quotes you can compare.
23 October 2026↗ Machine vision
Validating a vision inspection station: IQ, OQ, PQ and gage R&R
Turning acceptance criteria into a test protocol your quality team will sign.
23 October 2026↗ Buyer's guide
Machine vision integrators: a 2026 buyer's guide
Types of vision vendor, what to compare and the questions to ask before you shortlist.
Integrators↗Send us your first vision spec and we'll tell you what we'd change.Bring Relling to your shop floor.
We started Relling to help American manufacturers make more of what this country needs. Tell us about the part and we'll scope a cell to it.